How to prepare, test, and connect a marketplace export
Prepare a destination-specific export, test representative products, review the generated XML, and connect the verified export URL to your marketplace or other sales platform.
This guide explains the recommended workflow for launching a B2BLIX Feed export without replacing your existing feed before the new output has been checked.
When this guide is relevant
Use this guide when you are preparing a new B2BLIX Feed export for a marketplace, online store, price-comparison platform, or another system that accepts XML product data.
It is especially important when you are replacing an existing feed. The new export should first reproduce the required product selection, prices, stock values, and destination fields. It should be tested before the external platform starts using it.
Short answer
Create a separate export for the destination, configure its suppliers, filters, pricing rules, transformations, and XML template, and then generate the export without connecting it to the live platform immediately.
Test several representative products in the Export Checker, inspect the generated XML, and confirm that the output follows the destination's requirements. Connect the export URL only after the results are stable and understood.
Warning: Connecting an untested export can affect live product prices, stock availability, product selection, and marketplace listings. Verify the generated XML before replacing an existing feed or enabling automatic marketplace updates.
How the export workflow works
B2BLIX first imports supplier data and maps it into a common product catalog. An export then creates an independent view of that catalog for a particular destination.
Each export can use its own:
- Suppliers and product selection
- Export filters
- Default supplier margins or coefficients
- Data transformation rules
- Destination-specific attributes
- XML structure
- Generation schedule
This means that the same processed supplier catalog can be used for several destinations. For example, a marketplace export can use different prices, titles, stock rules, and product filters from an export prepared for your own website.
The generated XML is the output prepared by B2BLIX. The external platform separately controls when it downloads the file, how it validates the data, and whether the products are accepted or published.
1. Confirm that your supplier data is ready
Before creating the marketplace export, confirm that the required supplier data has been imported correctly.
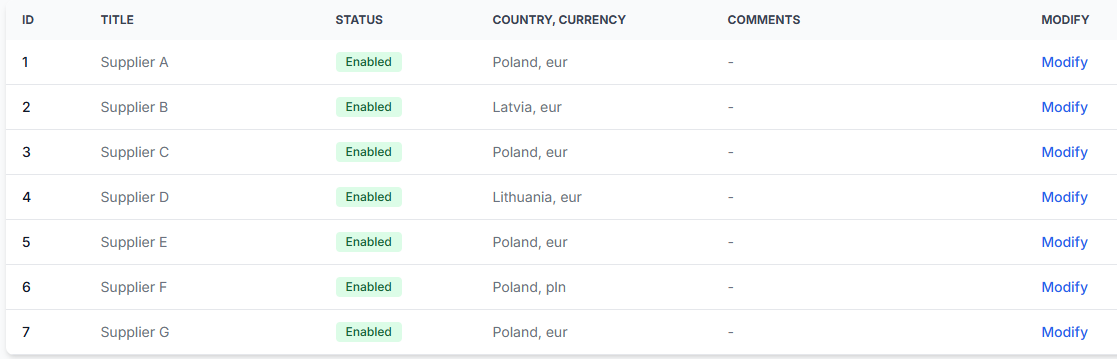
- Check that the required suppliers are enabled and their source files are accessible.
- Verify the supplier's country, currency, VAT treatment, content language, and weight unit.
- Confirm that the correct source fields are mapped as EAN, price, stock, title, and category.
- Check that representative products have usable EAN values.
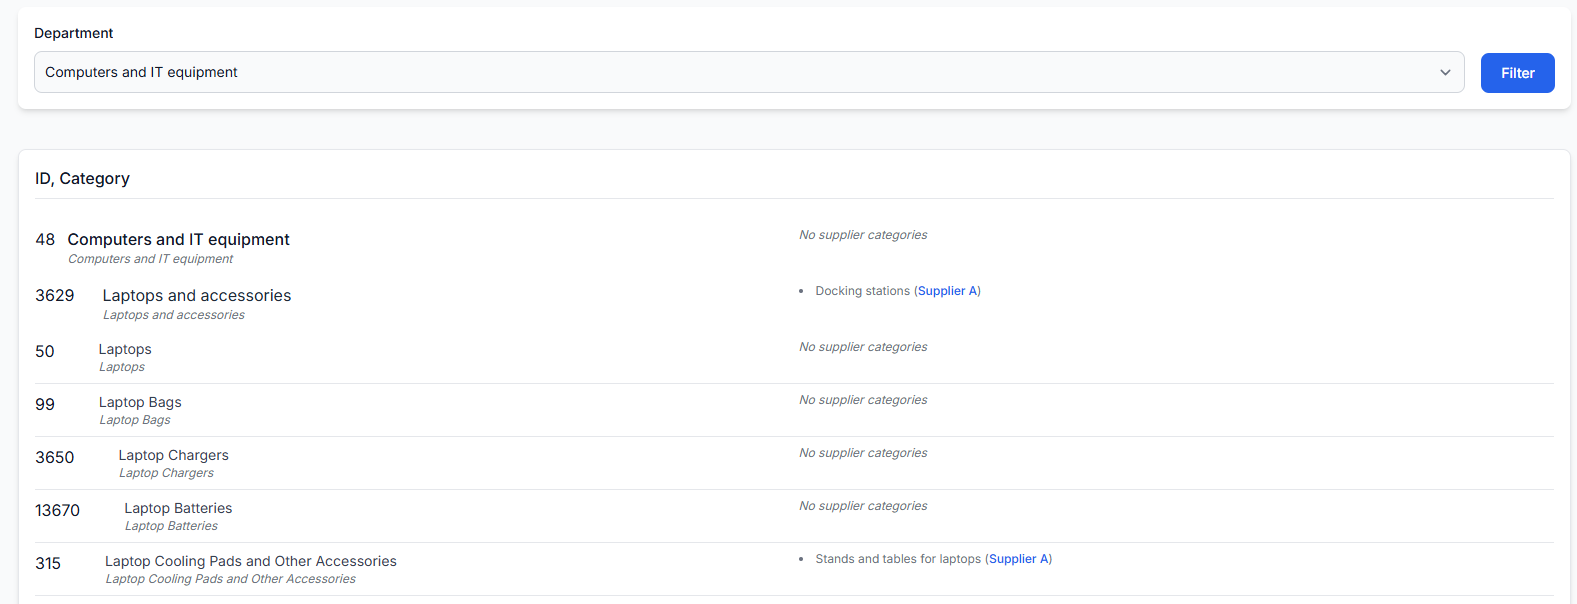
- Review category relationships when the destination requires valid categories.
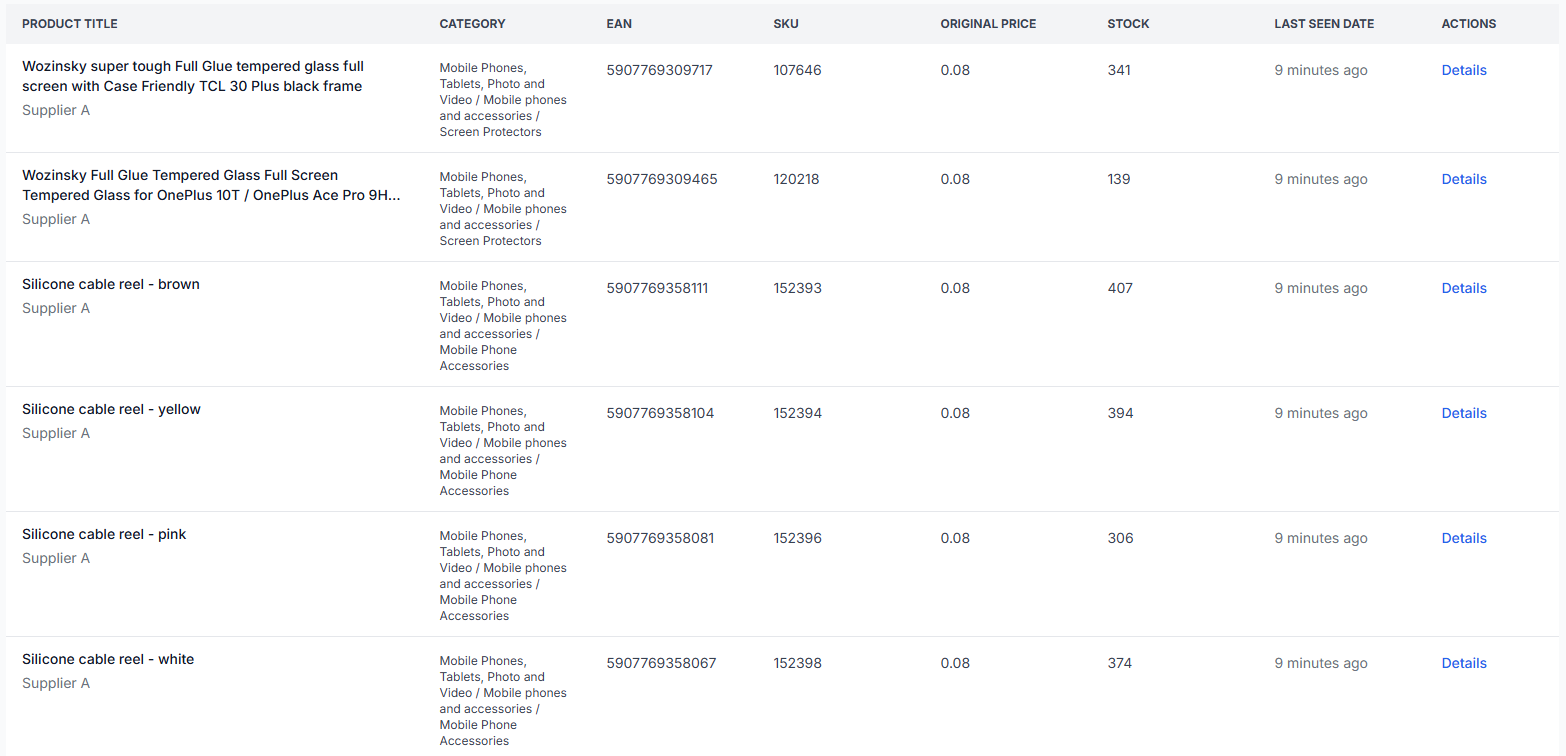
- Confirm that the first supplier synchronization has completed and that products are visible in the catalog.
A product without a usable EAN does not enter the normal B2BLIX product-processing workflow. If products are missing, verify the EAN mapping before troubleshooting the export itself.
To check supplier configuration in your account, open Suppliers.
To understand the supplier settings and mapping workflow, read Add and configure a supplier feed.
2. Create a destination-specific export
Create a separate export for the marketplace or other destination. Avoid changing a working production export while the new configuration is still being tested.
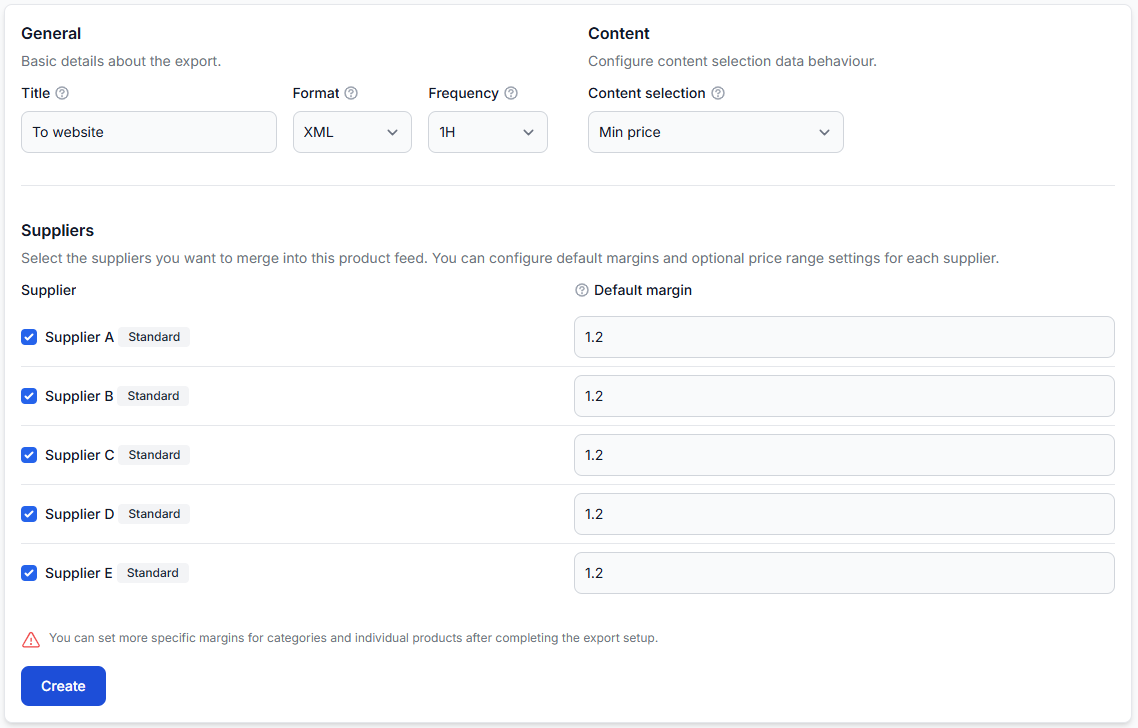
During the initial setup, verify:
- The export title and status
- The suppliers included in the export
- The default margin or supplier coefficient
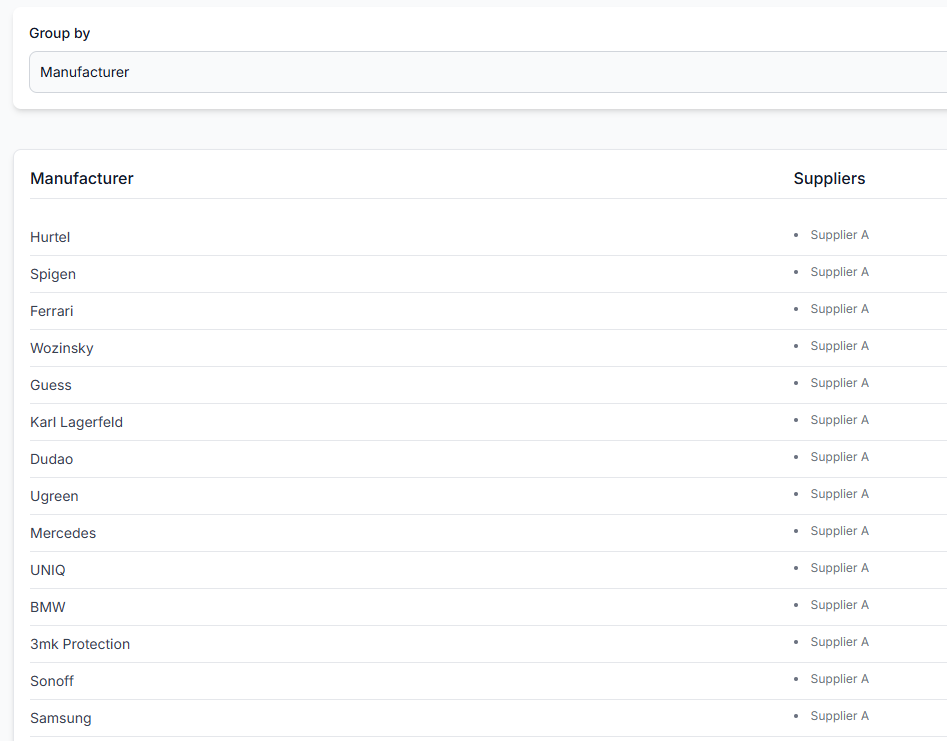
- The categories and manufacturers that should be included
- The product filters
- The assigned transformation rules
- The XML attributes and product structure required by the destination
- The export generation frequency
To create or review an export, open Exports.
To understand the available export settings, read Create and configure XML export projections.
3. Add only the rules required for this destination
Transformation rules can change existing product values or create additional values for the export. For example, a rule can calculate a selling price, set a delivery-time field, adjust stock, prepare a destination-specific title, or create a separate country-specific price.
Before enabling a rule, verify:
- Which products should match the rule
- Whether the rule changes an existing attribute or creates a new one
- The rule's priority compared with other active rules
- Whether processing should continue after the rule matches
- Whether the rule is enabled for the correct export
Keep the first test configuration as simple as possible. Add more complex pricing, content, or supplier-specific rules after the basic export has been validated.
To create or review processing rules, open Data Transformation Rules.
For an explanation of conditions, transformations, and priorities, read Data transformation rules.
4. Test representative products
Do not judge an export only by its total product count. Select several EANs that represent the important parts of your catalog and inspect them individually.
A useful test group may include:
- A normal product from each included supplier
- A product supplied by more than one supplier
- A product affected by a pricing transformation
- A product close to a filter limit
- A product with zero stock
- A product from an important category or manufacturer
- A product with translated or transformed content
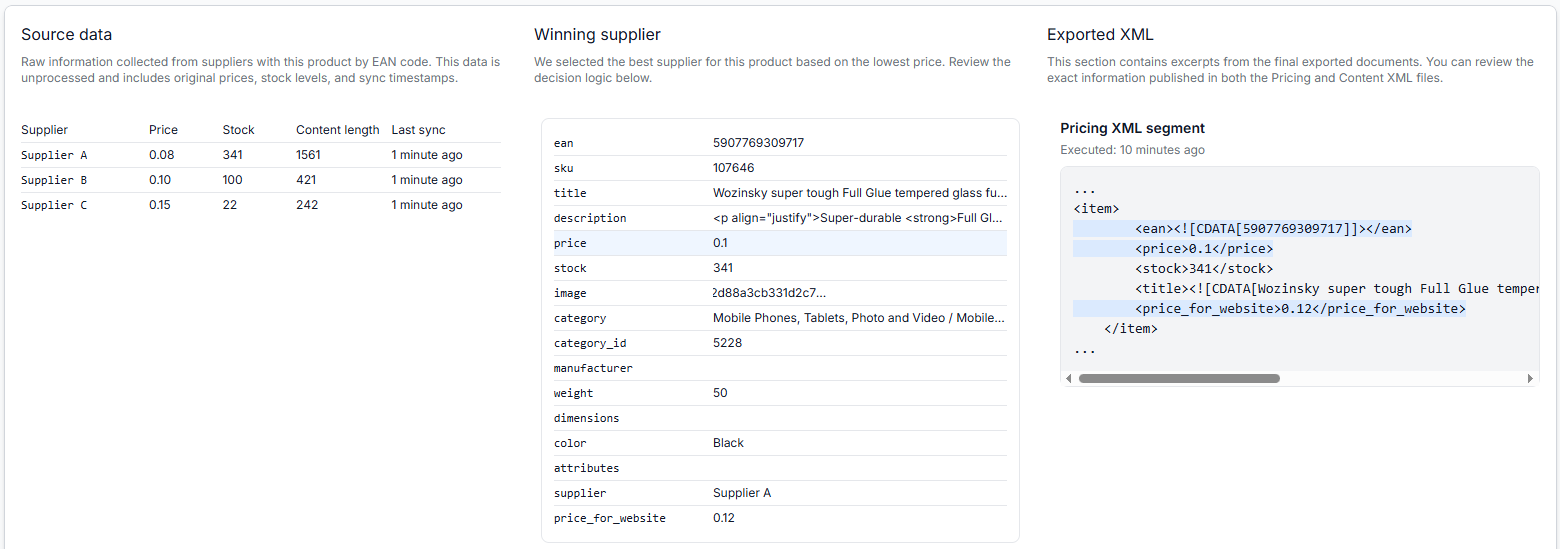
For each EAN, check the original supplier data, the selected supplier, mapped attributes, filters, calculations, applied transformations, final values, and representative XML output.
To test products in your account, open Export Checker.
For details about the product-level report, read Export Checker: review product data and export results.
5. Review the complete generated XML
Product-level checks confirm how individual products are processed, but you should also inspect the complete generated file.
Check that:
- The XML opens completely and is not cut off.
- The document has the expected product path and structure.
- The required destination fields are present.
- Prices and stock values use the expected format.
- The file contains a reasonable number of products.
- Products that should be excluded are not present.
- Products that should be included have positive stock and valid required fields.
- No private test values or temporary fallback values remain in the output.
A technically valid XML file is not automatically guaranteed to be accepted by every marketplace. The field names, required values, category rules, and product structure must also match the destination's current import requirements.
6. Connect the verified export to the destination
After the export has been generated repeatedly with stable results, copy the export URL provided for that projection and add it to the external platform.
When replacing an existing feed:
- Save a copy of the previous feed configuration or URL.
- Generate the new B2BLIX export again.
- Perform a final check of prices, stock, product count, and required fields.
- Replace the feed URL in the destination account.
- Confirm that the destination successfully downloads and processes the file.
- Check several products on the destination after its import has completed.
Important: Supplier synchronization and export generation use independent schedules. A newly updated supplier file may not appear in the marketplace until the supplier synchronization, export generation, and marketplace download have all completed.
Common causes of launch problems
A product is available in B2BLIX but missing from the export
The product may be removed by an export filter, have zero stock, lack a required mapped value, or fail a destination-specific condition. Check the product's EAN in the Export Checker.
The product is in the XML but not on the marketplace
Confirm that the XML contains valid destination fields and positive stock. If the exported result is correct, the cause may be the marketplace's import schedule, validation process, category requirements, or product activation rules.
The exported price is not the expected price
Check the original mapped supplier price, supplier coefficient, active transformation rules, rule priorities, and any export-level discount. Supplier selection may also be based on the final transformed price rather than the lowest raw supplier price.
The export contains fewer products than expected
Check whether products have changed to zero stock, a supplier has not refreshed, an export filter has removed records, or required data is missing. Compare representative EANs from each supplier instead of relying only on the total count.
The destination cannot read the feed
Open the generated XML and confirm that the file is complete and that its structure matches the destination requirements. Test a small and simple configuration while repairing the incorrect field, rule, or XML structure.
Example launch check
Suppose a marketplace export includes three suppliers. One test product is available from two suppliers with the same EAN.
- Supplier A provides a lower raw price but has a larger supplier coefficient.
- Supplier B provides a higher raw price but receives a smaller markup.
- An active transformation adds a fixed amount to products in that category.
The Export Checker should show which supplier wins after the configured pricing rules are applied, the final selling price, the exported stock, and the resulting XML fields. Confirm this result before connecting the export to the marketplace.
What to do next
- Confirm that supplier mappings and required EAN values are correct.
- Create a separate export for the destination.
- Start with simple filters and transformations.
- Test representative EANs in the Export Checker.
- Review the complete generated XML.
- Connect the export URL only after the output is stable.
- Verify the destination's first import and check several live products.
- Expand the export gradually after the initial workflow is understood.