How to create separate exports for countries, languages, and sales channels
Learn when to create separate exports and how to reuse one supplier catalog without mixing destination-specific products, prices, content, schedules, or XML structures.
This guide explains how to organize multiple B2BLIX Feed exports for different marketplaces, websites, countries, languages, and price-comparison platforms.
When this guide is relevant
This guide is relevant when you want to send products from the same supplier catalog to more than one destination. A destination may be a marketplace, your own website, a price-comparison platform, Google Shopping, or another system that accepts the required XML structure.
Although the products may come from the same suppliers, each destination can require a different product selection, margin, language, stock policy, content format, XML structure, or update frequency.
Short answer
Create a separate export whenever two destinations need different commercial rules, product selections, content, schedules, or XML output structures.
You do not need to create separate supplier connections for every destination. B2BLIX collects and maps supplier information into one stored catalog. You can then create several independent export projections from that catalog.
Important: Changes to an export can affect the prices, stock, content, and products included in its generated XML file. Review the settings and test the output before using it in a production sales channel. Publication or acceptance by an external platform is a separate process controlled by that platform.
How one catalog supports multiple destinations
B2BLIX separates supplier data collection from export generation.
- Suppliers provide product data in supported source formats.
- B2BLIX maps the supplier fields into a common product structure and stores the processed products in one catalog.
- Each export projection selects and prepares part of that catalog for a specific destination.
This means that one stored product can be prepared differently for several destinations without importing the same supplier feed again for each destination.
When two destinations should use separate exports
Use separate exports when at least one of the following requirements is different:
- Product selection: One destination receives electronics, while another receives clothing or a selected group of brands.
- Country: Different countries require different prices, VAT handling, product availability, or content.
- Language: Titles, descriptions, categories, or other content must be prepared in different languages.
- Margins and calculations: A marketplace and your own website use different pricing rules.
- Stock policy: One destination may receive the available supplier stock, while another needs a restricted or calculated stock value.
- Content format: A destination requires different titles, descriptions, custom attributes, or text formatting.
- XML structure: Destinations require different element names, product paths, or mandatory fields.
- Generation schedule: One export must be refreshed more frequently than another.
- Testing stage: You want to test a small product group without changing the production export.
If two destinations use exactly the same product selection, calculations, content, XML structure, and update schedule, one export may be sufficient. However, separate exports are usually safer when the destinations have independent requirements.
Which settings are shared and which are export-specific
| Area | How it is used |
|---|---|
| Supplier connections and mappings | Shared. Supplier information is imported, mapped, and stored in the common B2BLIX catalog rather than being created separately for every destination. |
| Stored product catalog | Shared. Several exports can use products collected from the same suppliers. |
| Data transformation rules | Reusable. Rules are created in the account and can be assigned where needed. Each export can use the appropriate rules for its destination. |
| Export filters | Export-specific. Each export can include or exclude products according to its own criteria. |
| Supplier, category, and manufacturer selection | Export-specific. One export may use a different part of the stored catalog than another. |
| Margins and destination calculations | Export-specific when configured through the export and its assigned transformation rules. |
| XML template | Export-specific. Each destination can receive the field names and structure it requires. |
| Generation schedule and output file | Export-specific. Supplier synchronization and export generation also have independent schedules. |
Check before editing a reusable rule: A data transformation rule may be used by more than one export. Changing the rule can therefore change every export that uses it. Confirm where the rule is enabled before modifying its formula, filters, or output attributes.
What to check in your account
1. Confirm that your supplier data is collected correctly
Before designing several exports, confirm that the required suppliers are connected, mapped, and synchronized into the common catalog.
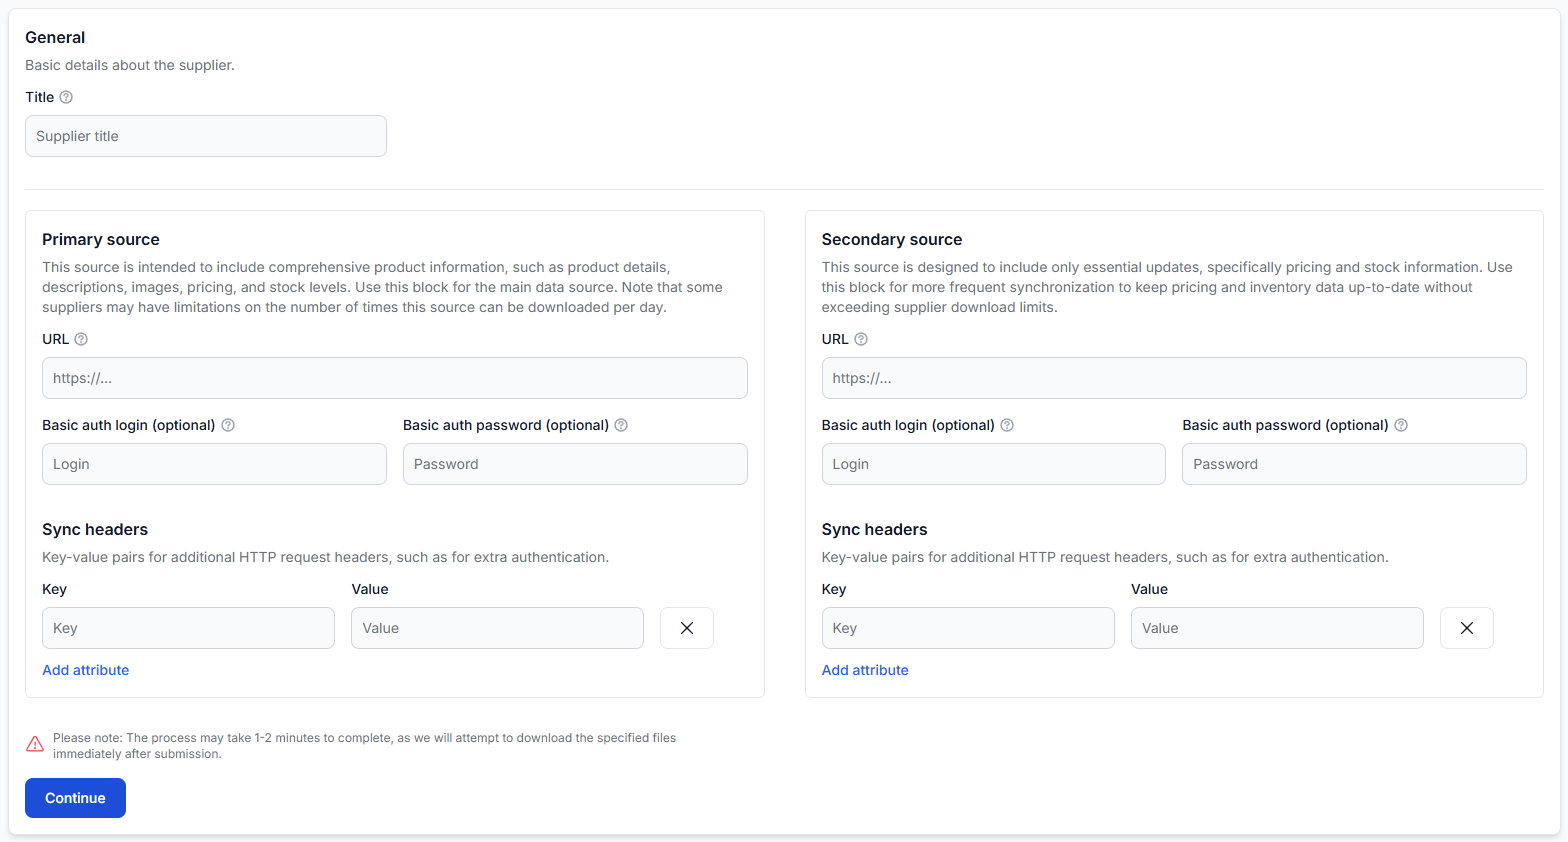
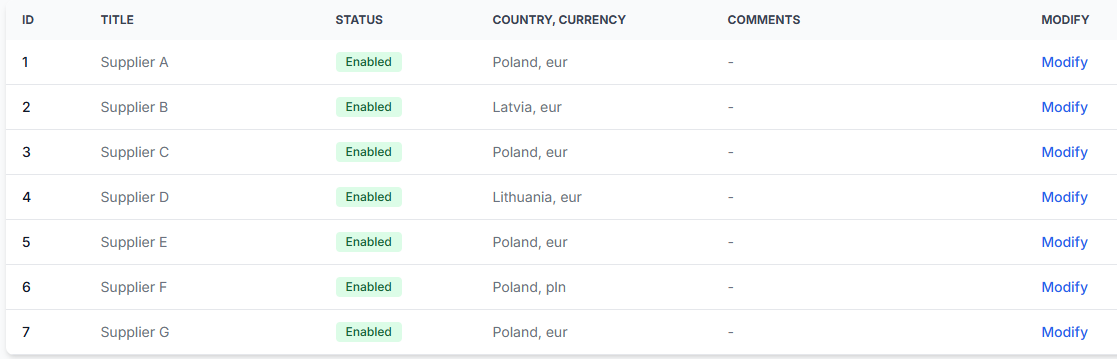
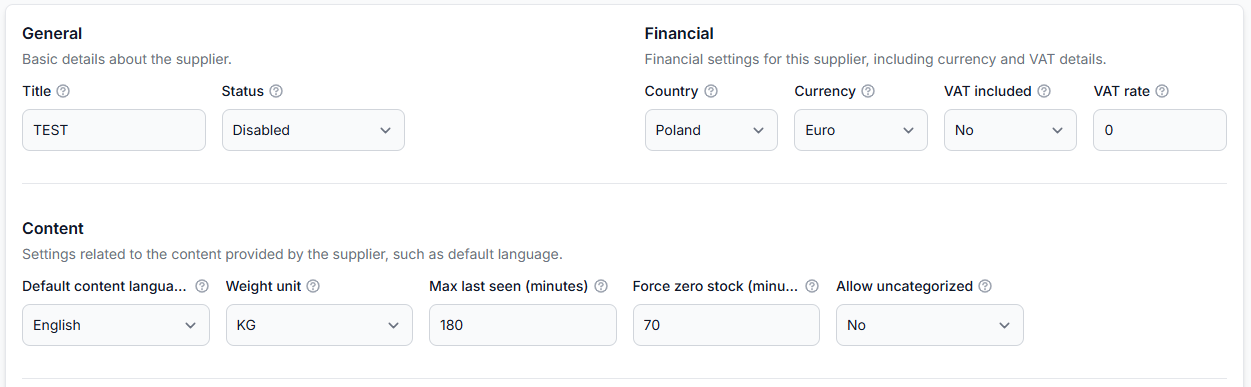
When you are logged in, open Suppliers. To understand supplier setup and mapping, read Add and configure a supplier feed.
Check that the supplier configuration correctly describes the source currency, VAT treatment, content language, weight units, source schedule, and field mappings. These settings describe the incoming data and are shared by the exports that use the resulting catalog.
2. Identify reusable transformation rules
Review which calculations or content changes can be reused. Examples include applying a standard calculation, cleaning HTML from descriptions, translating selected content, or creating a custom attribute such as price_for_website.
To check this in your account, open Data Transformation Rules. To understand how rules, conditions, priorities, and transformed attributes work, read Data transformation rules.
Keep a rule reusable only when its purpose is genuinely shared. Create destination-specific rules when the calculation, language, title format, stock treatment, or other result should apply to only one channel.
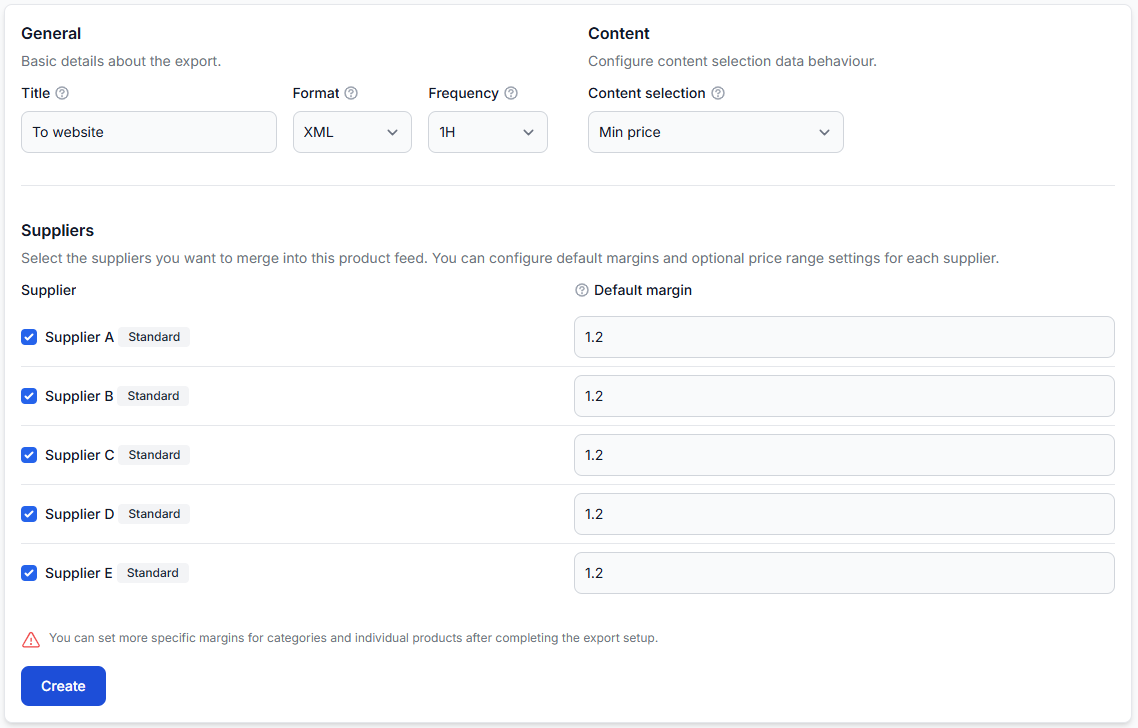
3. Create one export for each destination design
For each destination, define:
- The suppliers or product groups to include.
- The categories, manufacturers, EAN codes, or other attributes to filter.
- The required margins and calculations.
- The transformations to enable.
- The attributes to include in the output.
- The required XML structure.
- The export generation frequency.
To check this in your account, open Exports. To understand the available export settings, read Create and configure XML export projections.
4. Use filters to control product selection
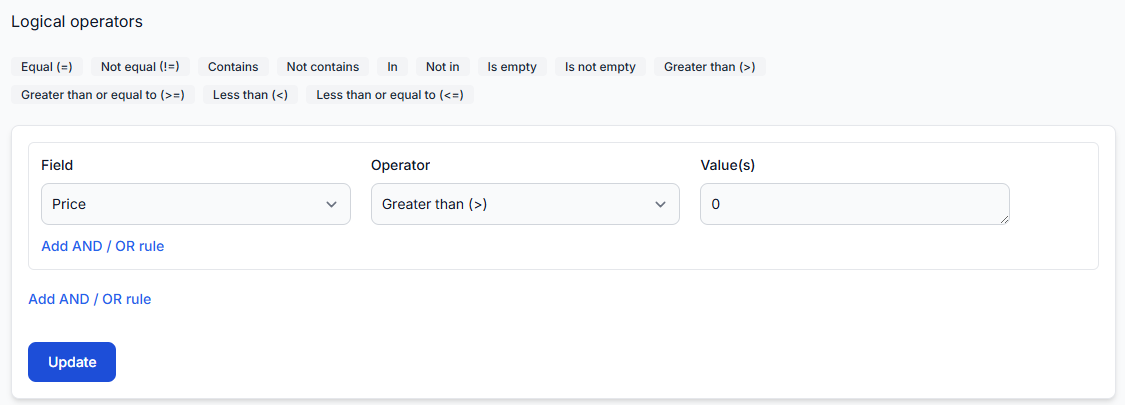
Filters allow each export to use a different subset of the catalog. For example, an export can include only:
- A selected list of EAN codes.
- Products from chosen suppliers.
- Products in selected categories.
- Selected manufacturers or brands.
- Products that have stock.
- Products within an appropriate price range.
Do not assume that changing a filter in one export changes the stored supplier catalog. The filter controls which stored products are selected for that particular export.
5. Test the result at product level
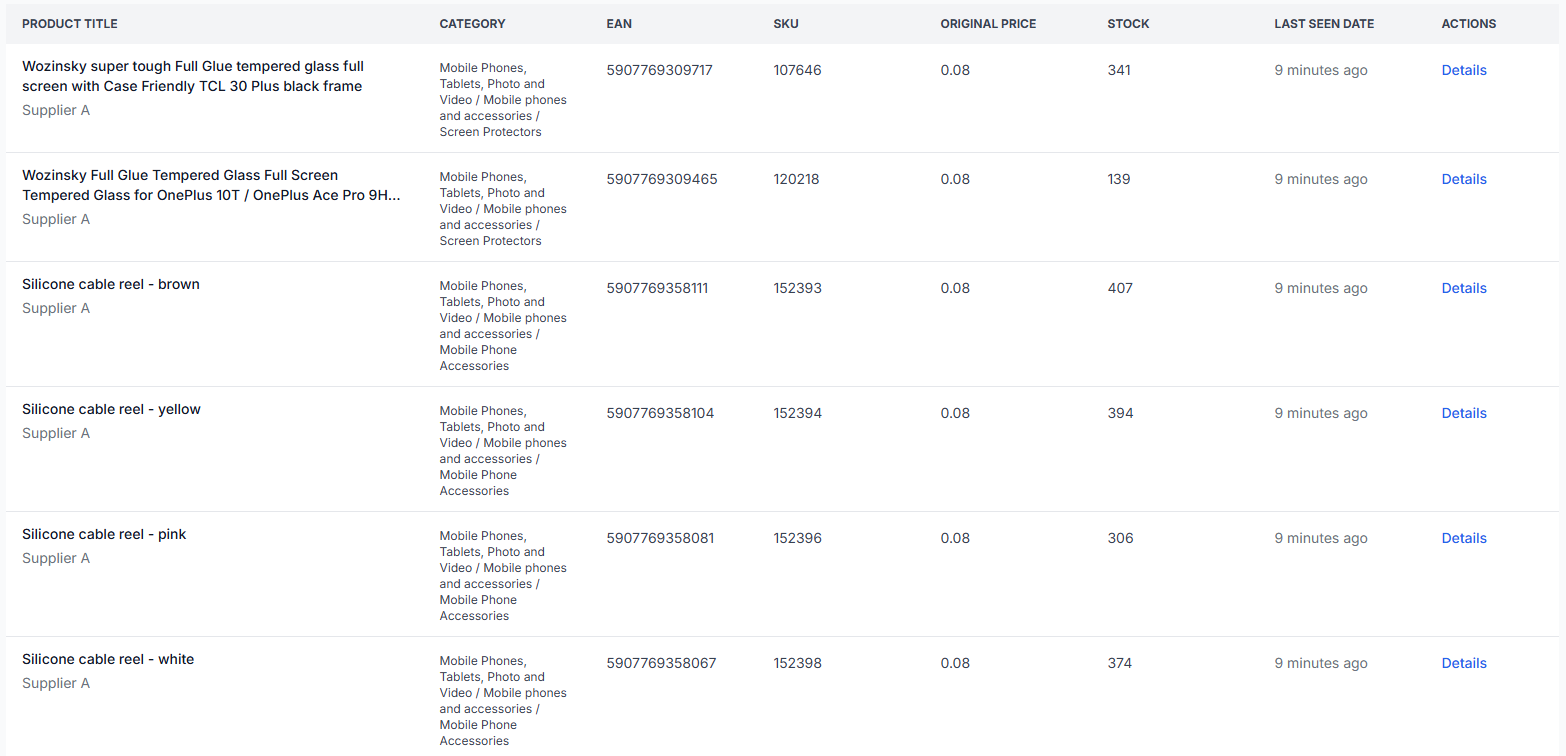
After generating an export, check representative products before sending the complete file to a destination. Review products from different suppliers, categories, price ranges, and stock situations.
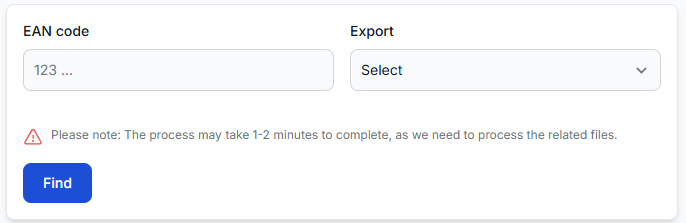
To check this in your account, open Exports Checker. To understand the product-level report, read Exports Checker: review product data and export results.
The checker can help you compare the original supplier data, mapped values, selected supplier, filters, transformations, calculations, final attributes, and representative XML output.
How to organize export names and attributes
Use names that make the destination and purpose immediately clear. Avoid names such as Export 1, New export, or Test when several team members or channels are involved.
A practical export naming pattern is:
[Destination] – [Country] – [Language] – [Purpose]
For example:
- Marketplace – Lithuania – Lithuanian – Production
- Price comparison – Latvia – Latvian – Test
- Electronics website – Estonia – English – Production
Use the same principle for transformation rules. A name such as Website – Add 20% margin is safer than Price rule.
When creating custom attributes, use names that show their purpose. For example, a destination-specific price may be stored in an attribute such as price_for_website instead of replacing the standard price when both values are still needed.
How to organize schedules
Choose the export frequency according to how often the destination needs updated prices, stock, or content. Each export has its own generation schedule, and that schedule does not need to match the supplier synchronization schedule.
For example, supplier data may be synchronized according to one schedule while a production marketplace export and a less time-sensitive website export are generated at different frequencies.
Usage warning: Export generation is a usage-based operation. Creating more exports or selecting a more frequent generation schedule can increase account usage. Check the current Feed pricing information before designing a large export portfolio.
How to organize test products
Start with a small and controlled product group instead of testing the complete supplier catalog.
- Create a clearly named test export.
- Add a filter that includes only a short list of known EAN codes.
- Use products that represent different suppliers, categories, prices, stock values, and content conditions.
- Generate the test export.
- Review each selected product in Exports Checker.
- Confirm that the XML structure and values match the destination requirements.
- Expand the filter only after the limited result is understood.
For example, if a supplier contains 10,000 products, you can initially configure the test export to include only 10 selected EAN codes. This allows you to check the result without preparing the entire catalog for the destination.
Common mistakes to avoid
- Using one export for destinations with different requirements. A change requested by one destination can unintentionally affect the output used by another.
- Creating duplicate suppliers for each channel. Supplier data is intended to be collected into the shared catalog and reused through separate export projections.
- Giving exports and rules unclear names. Generic names make it difficult to identify which destination will be affected by a change.
- Changing a reusable rule without checking its use. Other exports using the same rule may also change.
- Assuming supplier and export schedules are the same. They are independent operations and should be configured according to their separate purposes.
- Testing the full catalog immediately. A limited EAN-based test makes mistakes easier to find and correct.
- Checking only the generated file. Use Exports Checker to understand how the original data, filters, transformations, and calculations produced the final result.
Example: marketplace and website exports
Suppose your B2BLIX catalog contains products from several suppliers.
The marketplace requires selected electronics, a marketplace-specific margin, localized titles, a restricted stock value, and its own XML structure. Your website requires electronics and clothing, a different margin, longer descriptions, another stock policy, and a different XML structure.
These destinations should use two exports:
- Marketplace export: Selects electronics, applies the marketplace rules, and generates the required marketplace XML.
- Website export: Selects the website catalog, applies the website rules, and generates the website XML.
Both exports reuse the same stored supplier data. Only the destination-specific selection, calculations, content, schedule, and XML output are separated.
What to do next
- List every destination that will receive product data.
- Write down the required country, language, product selection, pricing, stock, content, XML, and schedule for each destination.
- Create a separate export whenever these requirements differ.
- Give every export and transformation rule a recognizable name.
- Check whether reusable transformation rules are already used by another export before editing them.
- Test each new export with a limited list of EAN codes.
- Review representative products and the final XML in Exports Checker.
- Expand the product selection only after the test result is correct.